How to Go Solar in Your Van
With portable energy sources becoming more efficient and more affordable every year, there’s been a revival in good old fashioned exploration.
But today’s pioneers and explorers aren’t ditching their office swivel chairs for sailing ships and horse-drawn wagons—they’re saddling up in vans armed with solar panels and rechargeable batteries.
The frontier is still very much open, and joining this new wave of exploration on the open road is as simple as finding the right solar powered van. We’re here to take away some of the guesswork.
Plan Your Off-Grid Escape
Wondering how to set up solar panels for vans? Before we get started, let’s be very clear:
If you’re not sure, consult a professional.
With that out of the way, the first step to going solar in your van is determining how much power you actually need.
You might think initially that you absolutely need that AC, toaster oven and mixing stand to whip up cookies on the go, but whittling down your “needs” into needs is the quickest way to figure out how much power you’re going to be working with in your solar setups.
Just about every product label should tell you exactly how power-hungry or energy-efficient said product is, usually written in terms of energy used over an hour.
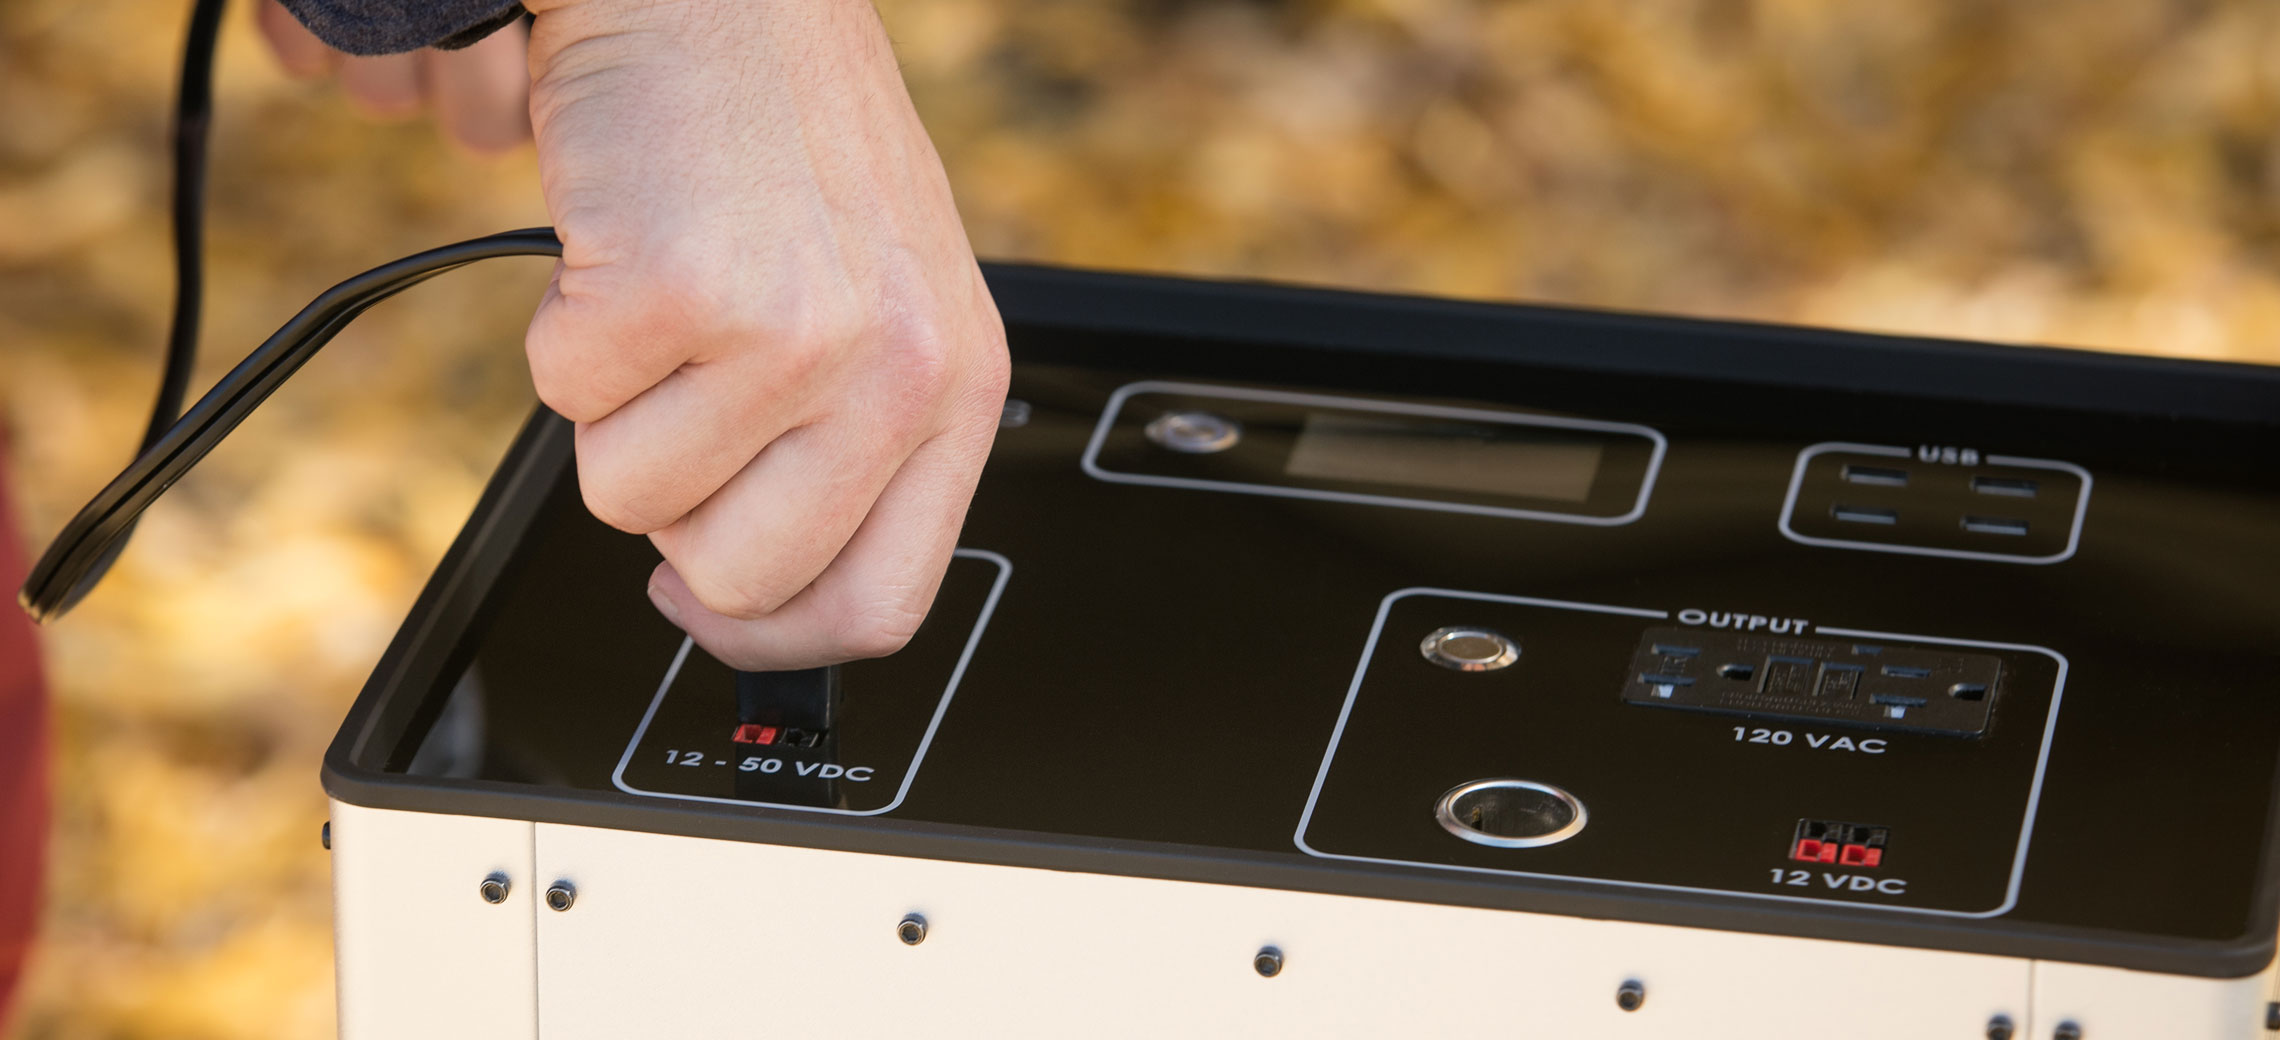
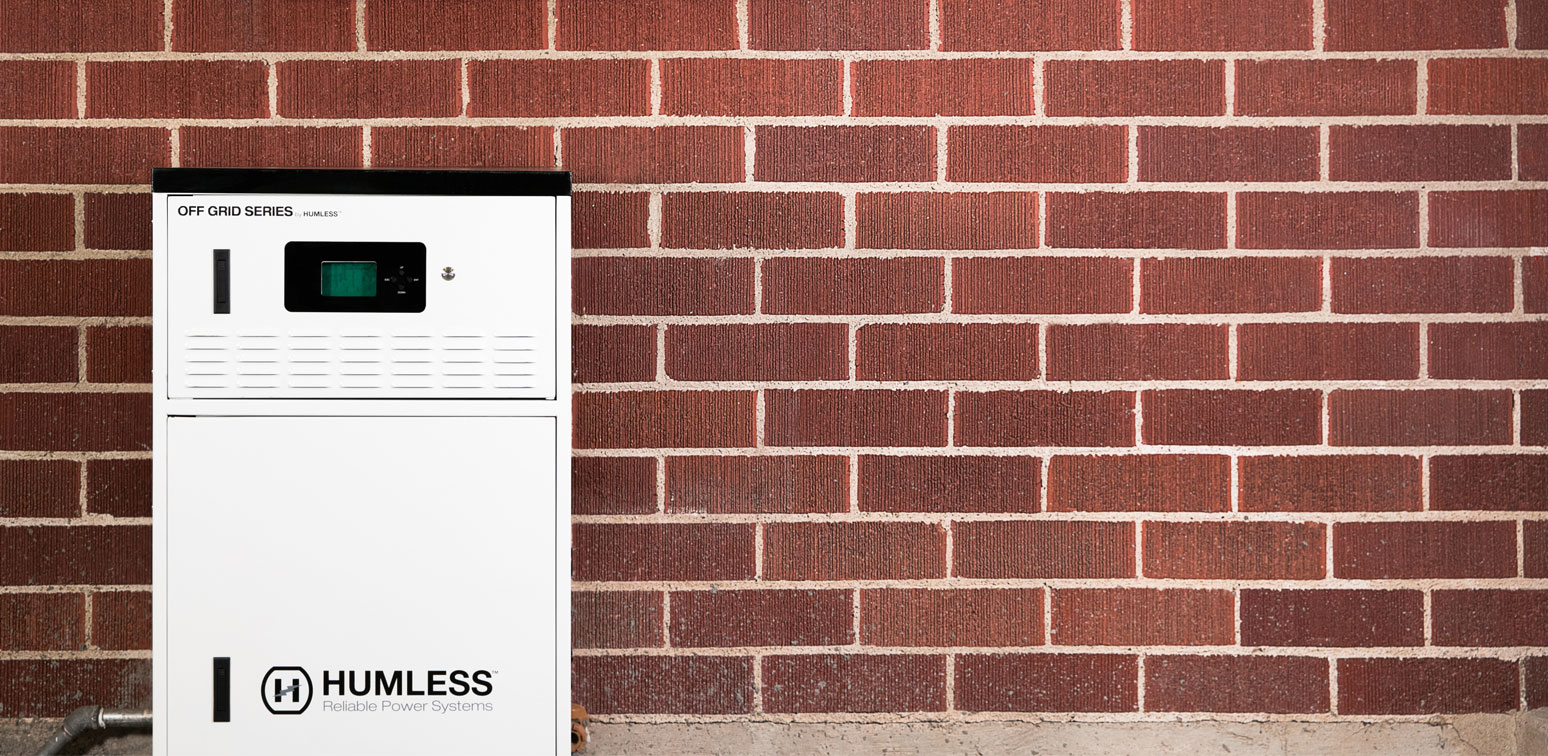
Electricity needs boil down to AC and DC, which will determine your inverter size and battery capacity (Humless batteries come with a built-in inverter). Inverters convert battery power into usable wall plugs, while your battery size should always err on the side of “too much” to prevent your juice from running out unexpectedly.
While some rechargeable batteries have a decreased shelf life if they’re fully drained between each use, the Humless GO series is highly efficient no matter how much or how little of its charge you use between each recharge. The GO series also packages the battery together with the charge controller, voltage regulators and fusings, making it an all-in-one solution for energy on-the-go.
When running off the grid using solar-powered batteries, some sites say you should calculate usage across three days. Unfortunately, nature comes at you fast and sometimes the sun decides not to show its face every day.
You may be forced to conserve electricity when it’s raining, so know your limits if you’re traveling in, say, the Pacific Northwest.
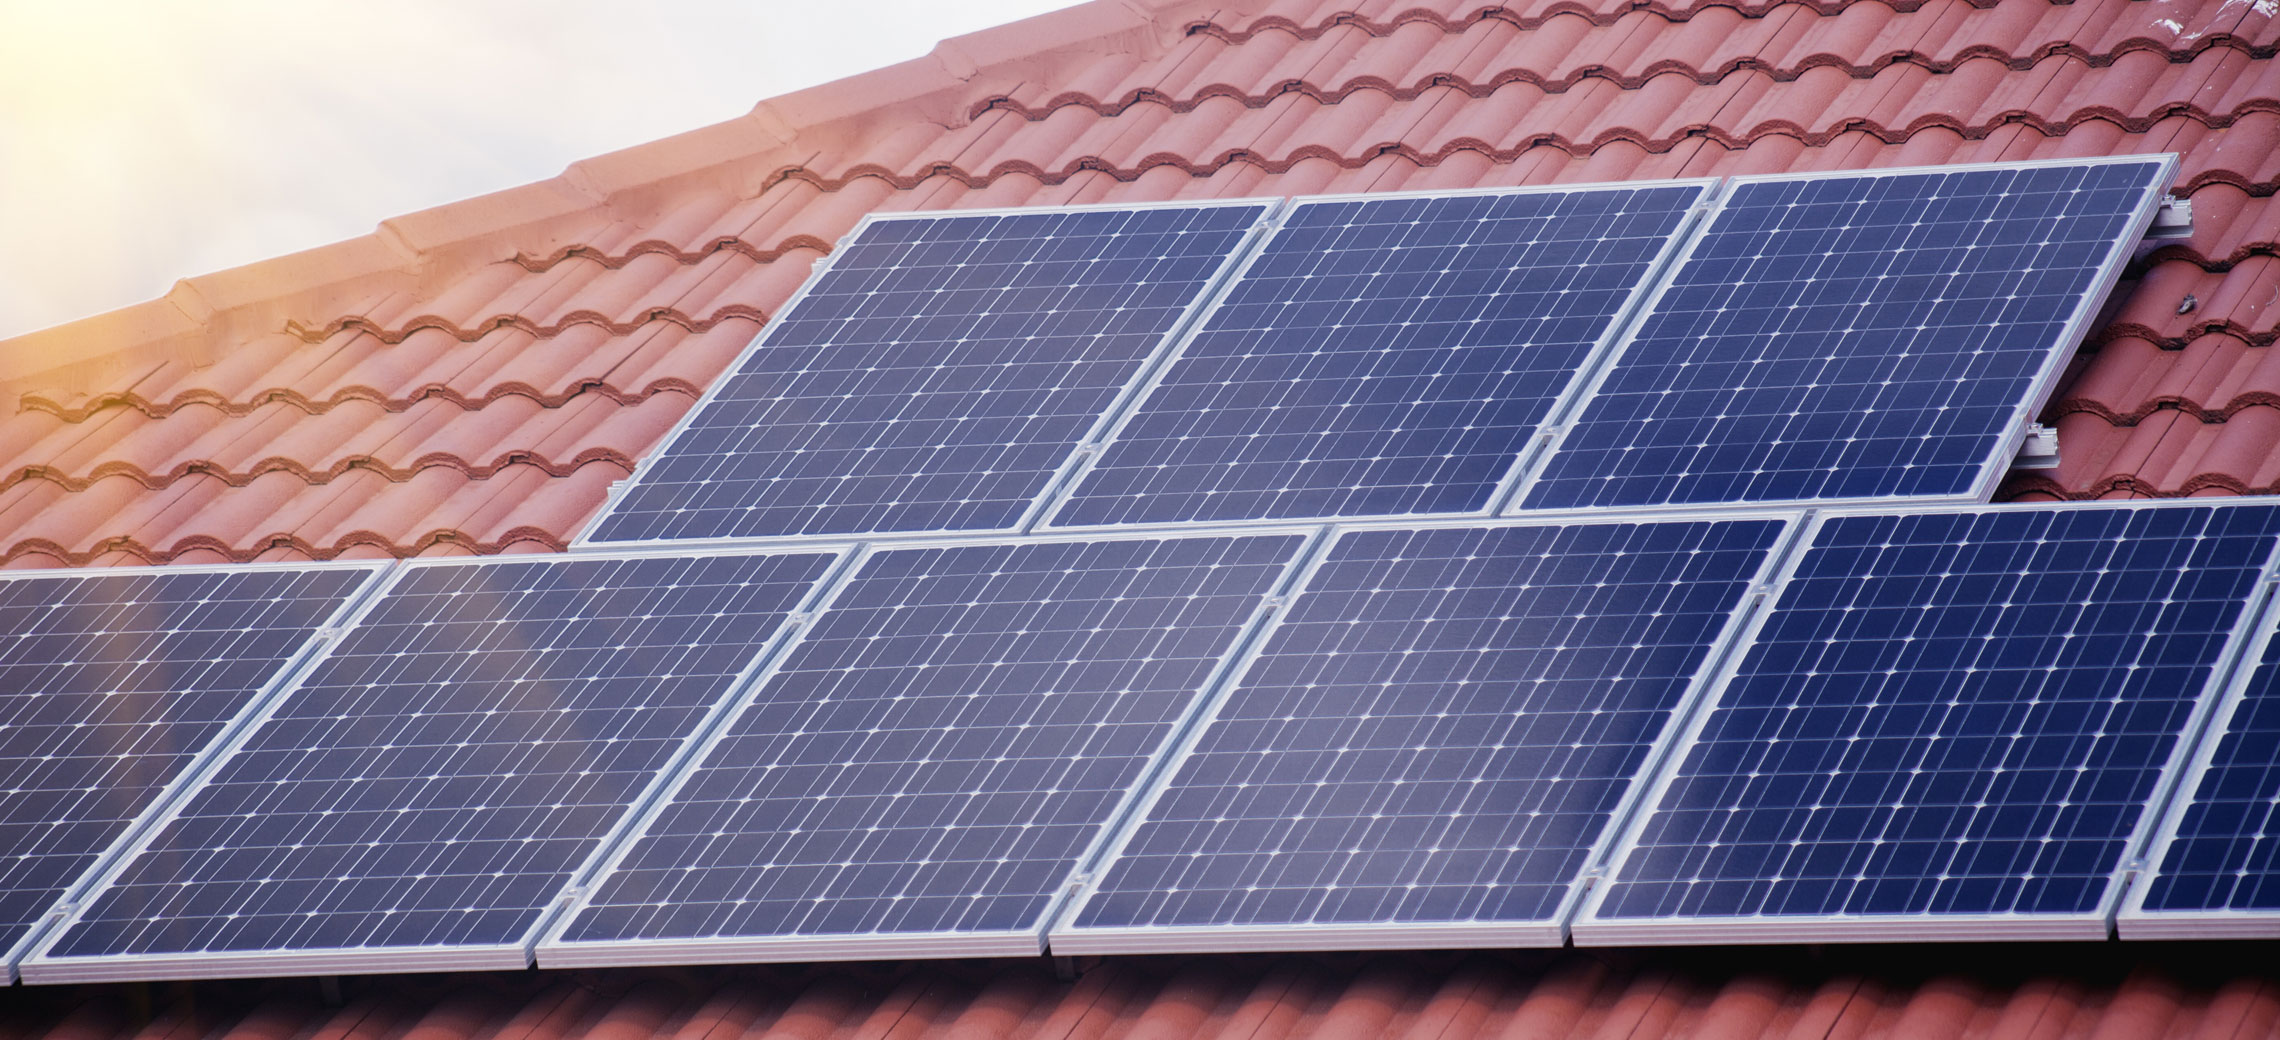
You have to bring along a big/efficient enough solar panel array to make sure your batteries recharge fast and often enough to keep you running day in and day out. In areas with less daily sunlight, that means you could be forced to lug around more van solar panels than you’d like or bringing an extra battery.
Of course with Humless’ highly efficient Solar GO series of panels, you have a head start on all your power needs.
As a rule of thumb, you can figure out roughly how much solar energy you’ll produce in one day (accounting for true sun hours) using this equation:
Van solar panel rating x 3 = X watts per day
So a solar panel with a 100W rating would produce about 300 watts per day.
How to Install Solar on Your Van
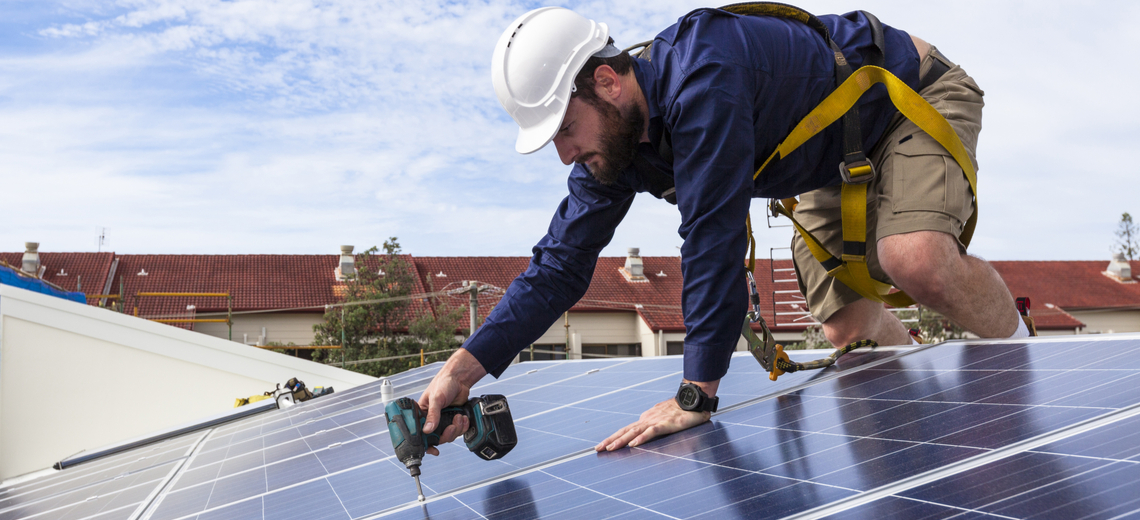
When it comes to actually installing your solar panels, first consider whether you want them fixed permanently or temporarily. Believe it or not, you can actually use industrial tapes like the 3M #4950 to fix solar panels into place, which also creates a weatherproof seal. Bear in mind that tape works best on flat surfaces.
More permanent options include screwing the panels into place. If you do choose to drill holes into the roof of your van, make sure to use rust-resistant screws and add weatherproofing sealant to stop leakage from rainwater.
Before you drill a single hole, be sure to double check the roof solar panel dimensions to make sure everything fits perfectly! You may need to install a van roof extension to get enough power for your needs.
The next step is choosing the location where your solar cable will enter your van. In the absence of preexisting vents, you’ll need to use a cable or a roof gland. If possible, put these beneath the actual solar panel for even more protection from the elements.
But if not, just whip out the trusty weatherproof sealant again. The closer this aligns to your battery on the interior side of things, the better (and the less wiring you’ll need).
With premade cables, you may have to cut the end off to make it fit through smaller glands, and later splice it on.
Finally, think about how thick your roof is, and how much insulation already exists. Sometimes the roof of your van is too thick to allow the gland to pass completely through, so you might have to get creative with sprinkler tubes or some other non-standard solution.
Final Tips
Here are a few more tips to maximize your life on the road with a van solar panel kit:
- Always drive with the panels sitting flat, for safety. At rest, don’t be afraid to adjust the tilt of the panels (or even the position of your vehicle) for maximum sun exposure.
- With permanently affixed solar panels for van roof, one of the downsides is that your vehicle will also need to be in direct sunlight to generate power. Consider detaching the panels so you can park in the shade if the weather is hot.
- Items like refrigerators vary greatly in the amount of power they used depending on how often the door is opened, what’s inside, and even ambient temperature. When calculating your power needs, try to overestimate the draw from your refrigerator.
- Solar panels generate less energy as they get hotter, and batteries become less efficient as they get colder. Using van dwelling solar power in temperature extremes is slightly more difficult than temperate climates.
- To avoid weighing down your van and taking up too much space, go with the most efficient solar panels with the best ratio of size to power generation, and the most efficient batteries in terms of weight to capacity and longevity.
Rigging your van for solar really isn’t as complicated as some make it out to be, which is why so many people are ditching the sedentary lifestyle and embracing their nomadic roots. Keep these tips in mind when you’re planning your off-grid escape, and we’ll see you on the road.

